Unfortunately I've had an unscheduled delay due to hand and knee pains.
After a bit of medical investigation, it transpires that I've got arthritis in the hands and right knee, and other problems with my left knee! However, after a large steroid jab in the backside and a couple of additional weeks waiting, my hands at least are improving, so it's back to work. Fingers crossed the jab will work long-term - only time will tell.
These problems all started before the kit arrived, so I can't blame the aircraft. The physio looking after my knees reckons it's because I've stopped flying a desk and got active after many years being sedentary.
First job on re-start was to complete the trial fit of the horizontal stabiliser skins and match-drill all final holes prior to painting.


This is 8 feet wide. I think we might have a problem getting the aircraft assemble in the garage!
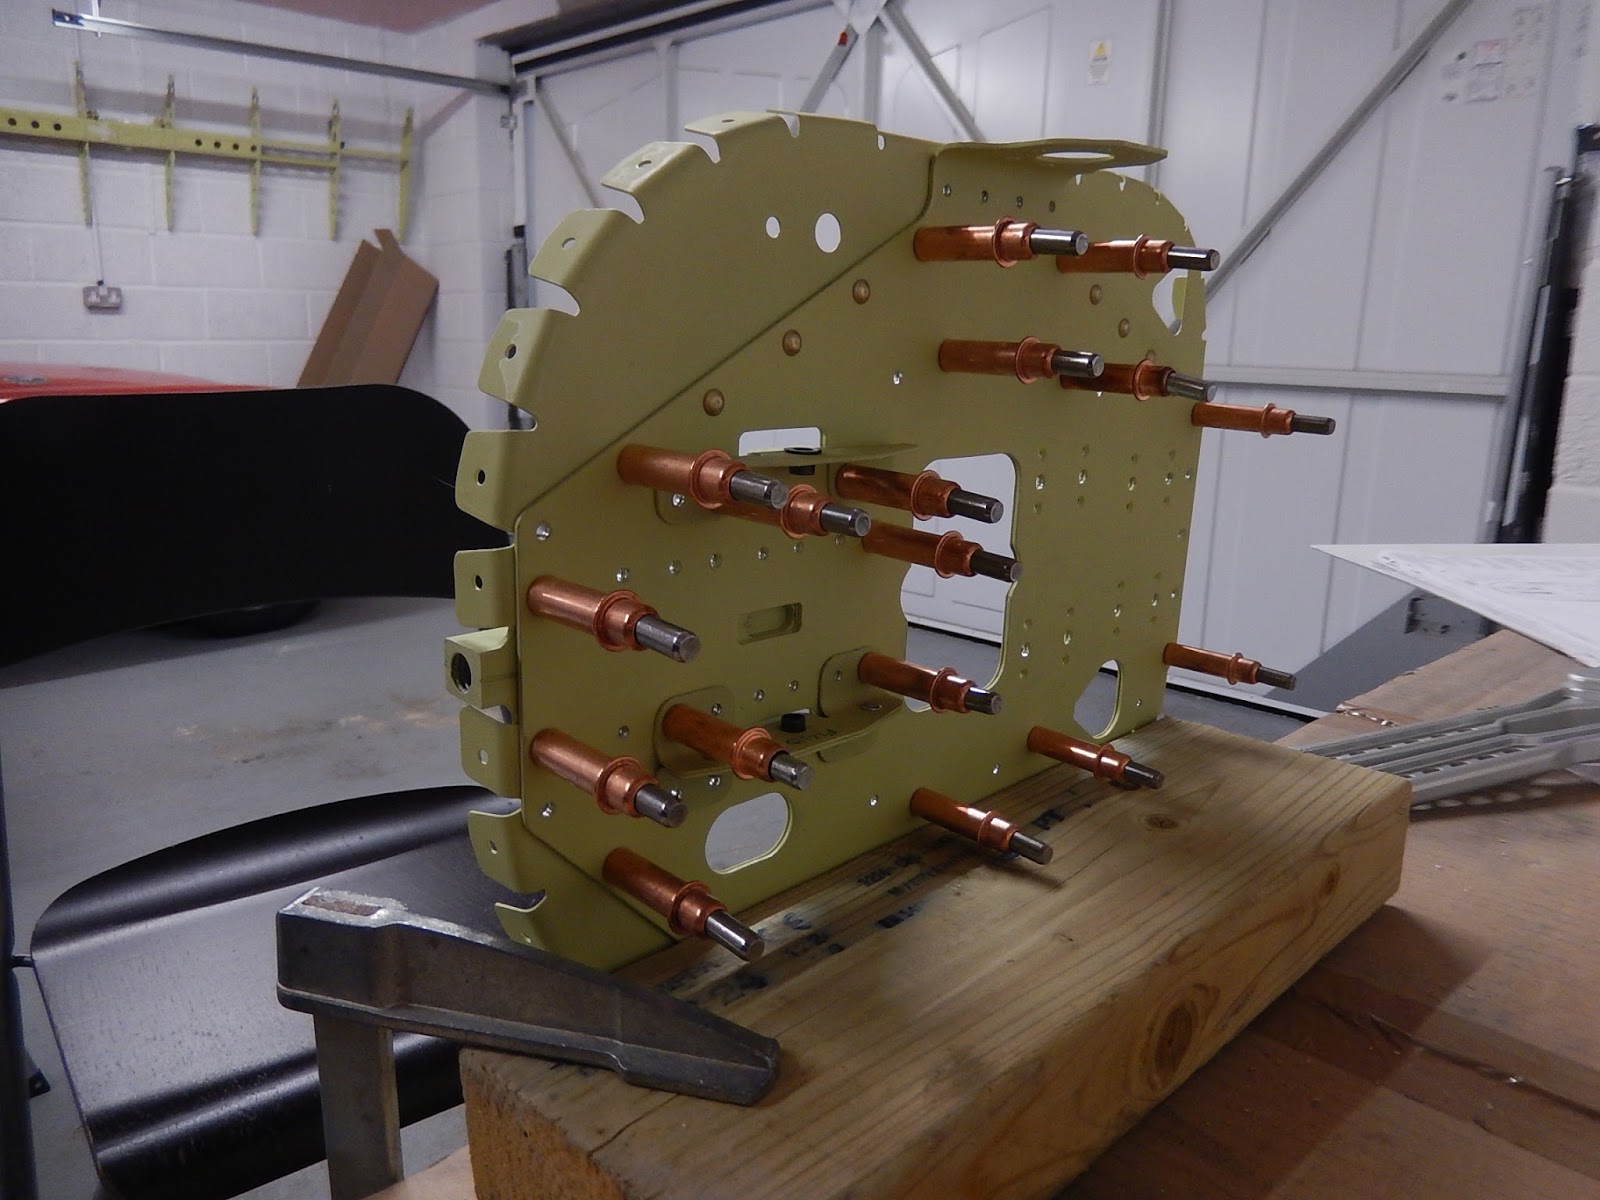
Next job was to assemble the rear bulkhead which has the hinge bearings for the horizontal stabiliser, plus the rear tie-down bracket, hinges for the trim-tab motor and the main attachment for the fin. It's a double-skinned assembly with loads of rivets of different types and sizes, so great care needed to get the right ones in the right holes.


So moving on and it's time to deal with the biggest part so far - the rear fuselage cone. This is about 9 feet long (it goes from the back of the cabin to the tail) and has nine individual skins and three frames plus the bulkhead.
First step is to assemble the previously painted frames.

The finished frames. The V-shaped bracket at the top of the smaller frame is where the front of the fin attaches to the fuselage.
In preparing the skins, I came across an issue which turned out to be a factory error - a first in what has been incredibly accurate production.

We have to fit some J-section stringer extensions to the bottom skins. As you can see, the holes don't line up. I thought it must be my mistake as the holes are fine with the stringer outside the skin, but the pictures suggest otherwise. A review of the builders' forum showed this to be a known issue and my assembly was correct. It then became a simple re-bending exercise with a couple of blocks of wood and a rubber mallet and all is now good!
Next is to trial-fit the bottom skins.

Then after final match-drilling and deburring, it's time to assemble and rivet together:


The finished product with all lower skin panel rivets installed. The ones marked with tape and kept for joining this section to the main fuselage.
Now we get to turn it the right way up and start building up the sides.


Looking inside at the rear bulkhead. A large counter-balance will protrude through the bulkhead when the horizontal stabiliser is finally installed.

The rear view showing the horizontal stabiliser bearings.
The next job is to add the wiring and plumbing for electric trim and static system, plus the nav antenna cable, before the final skins are fitted. The next few weeks probably won't see much too progress as the day job beckons with deadlines and of course it's only 11 days to Christmas!
Hey Harry. I came across a link to your blog on Flyer Forums. I'm enjoying following your build, looks like your making good progress. Hope the health issues stay away.
ReplyDeleteSay hello to the GAEL-DO team for me. Kind regards, Matt L