After the Christmas break and successful stage inspection, I've managed to make some good progress throughout January and have completed the first kit!
First job in the new year was to skin the horizontal stabiliser. This was really quick - just over a day's work, as I'd already match-drilled, deburred and painted the skins, hinges and trailing edge ribs, so just loads of riveting.

Here's the HS on the bench with the main skins fitted and waiting for the trailing edge ribs and hinges to be installed.

Now with the hinge halves clecoed ready for riveting
An exciting bit comes next - assemble the empennage with fin, rudder and HS to see if everything aligns and clearance of moving controls is OK. The fin cap isn't installed at this point as it hits the garage ceiling! First the fin and rudder are installed. This meant adjusting the previously chosen spacer washers in the rudder hinges as the fin didn't line up close enough to the top of the rudder. A bit of juggling whilst still complying with the build manual requirements and everything lines up to my satisfaction.

The paper with orange tape has the correct washers/bolt combination drawn on for each hinge so I don't have to work it out again on final assembly!
Next comes installation of the horizontal stabiliser, initially without the trim tabs fitted.

Now we move on to a part I'm not very keen on - trimming fibreglass. Previously I'd trimmed the fin and rudder caps to size. This time it's to make the two halves of the tail cone fairing. You're supplied with 2 moulded pieces - each like 1/2 an egg and with very feint scribe lines to trim to. I did the initial trimming using a fine high speed cutting disc in an air grinder - a bit like a Dremmel. Once close to size, I then had a lot of fitting/removing/filing and sanding to get a satisfactory fit. Only then can I start to join the two halves together.

Here are the two pieces held in place with clamps whilst the joining plates are aligned and drilled. The rudder is offset to the left which makes the cone appear distorted. Also, the slot for the trim tab actuating arm still has to be cut-out.

Another view of the joining plates. These will eventually be riveted to the inside surface of the lower half of the fairing and anchor nuts fitted on the top half of the plates.
Anchor nuts have to be fitted to the skin around the rear bulkhead to hold the fairing halves to the airframe. It's an awkward job as they're on the inner face of a curved skin, are dimpled and it's very difficult to get a drill in to match some of the holes to the skin.

Moving on, I have to assemble the trim tab motor and actuator assembly, and for the first time, a bit of my own type of work, aircraft wiring to do! (well I did put the nav antenna cable in as well).

The motor on it's base and wired to mate with the cable already installed in the fuselage cone. Note the loom string and not tyraps for those who have a clue. Perhaps a bit old-fashioned, but I hate cutting my hands on sharp tyrap stubs! The split pins are temporarily fitted as the nuts won't be finally tightened until the assembly is finally installed and rigged.

The complete trim assembly. I've painted the actuator arm in white epoxy as it will be visible where it protrudes through the tail cone fairing and attaches to the trim tab.
There is one small outstanding item, which is to fit and adjust the trim assembly to the bulkhead and HS, but I'm short of one 1/4" nylon bush and don't want to pay huge freight for such a small item, so will wait to consolidate it with more parts later. The small amount of work for this item can be done during final assembly.
I had to remove the refit the HS 3 times to complete the fibreglass work and fit all of the fuselage anchor nuts. Finally, I put it all back together again for one final interference check.

All parts assembled, and end of empennage construction. All surfaces move without interfering and all the gaps are pretty consistent.
Wow! It actually looks like the back end of a real aircraft. I have to say that it does generate a real sense of satisfaction to have completed this first major part, in just over 5 months. Now I move onto the wings and I reckon they will take me to around the end of June, so another 5 months. Before I can lay out the wing main spars, I need to dismantle and store all of the empennage so I can get the construction bench into the middle of the garage (the wings are longer than the bench and it fits into a recess currently).
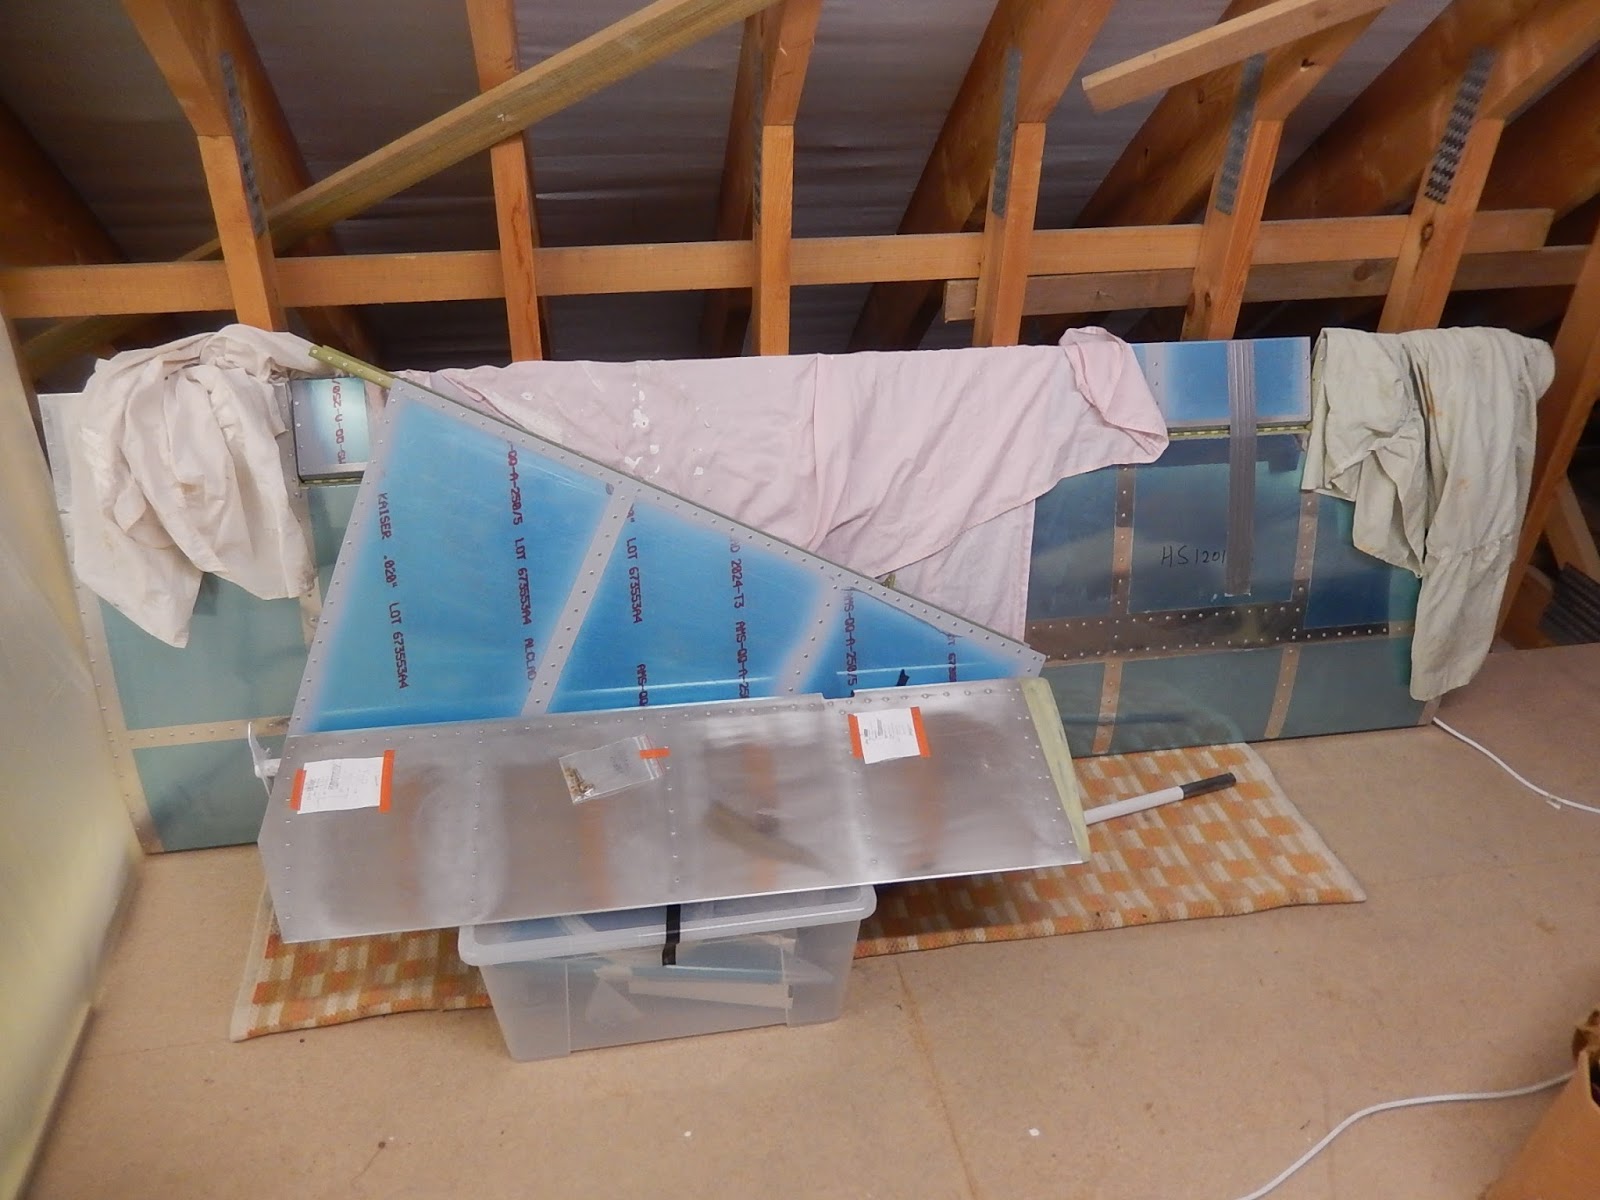
The horizontal stabiliser, fin and rudder have gone upstairs in the garage.
The fuselage cone is going to hang from the ceiling above my MGA. I wont need these parts again now until the fuselage centre-section is complete and needs to be joined to aft fuselage cone., so probably around the end of the year.