It's been a while since my last post and work has been delayed due to a knee injury which required surgery. However I finally got back into the garage last week and was able to make significant progress on the left wing.
Initial task was to complete the left wing top skins.

Here's the last skin - the top centre, clecoed in place and ready to rivet. Note that all of the leading edge skins still need final riveting - they have to wait until the last top skin has been engaged into the adjacent J-section stringers.

In this view you can see I've got alternate rivets and clecos to ensure the skin is fully aligned to the final-drilled holes.

Finally the completed main skins including the yellow-painted walk-way doubler. This is where you step into the cockpit and as we'll be flying before the aircraft is painted, this skin needs protection against damage.
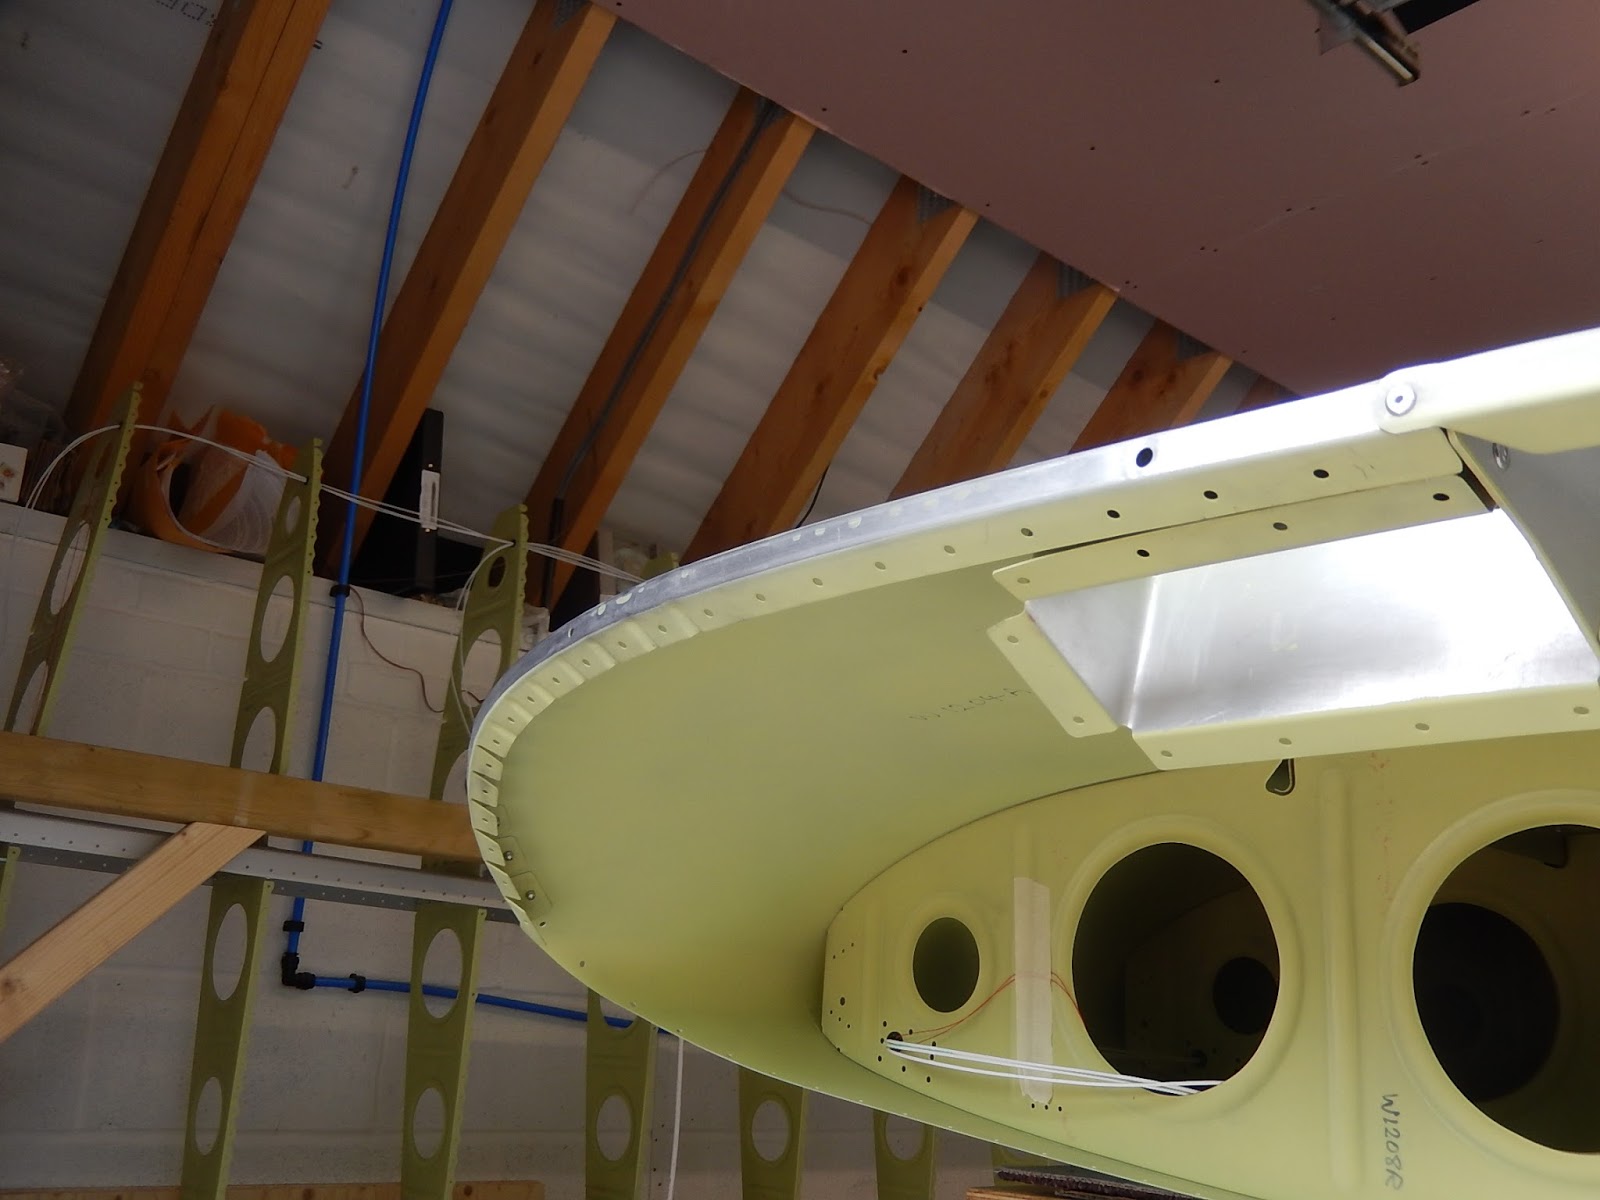
Next we can move on to the wingtip. There are 9 pieces that make up the wingtip structure and when assembled from flat skins, make a clever complex curve.
We start with the wing hand-hold which is necessary as this aircraft is designed with removable wings for easy storage. The hand-hold is folded from a simple pressing and appears really weak!

The hand-hold is secured to the outboard end of the main spar with 3 rivets.
Next the top skins and outboard ribs are fitted. The front rib needs fluting to persuade it to follow the inward and downward curves of the front tip skin.
Looking up at the forward tip rib.

Another view of the forward rib showing more of the awkward curve created by fluting and notching.
Finally comes the bottom skin. This has loads of tabs along the inboard edge that all need bending to different angles in order to match to the inboard lower skin. A special tool is required - made in wood to a drawing provided in the build instructions.

In this view, I've installed the bottom skin, but have previously cut out the access aperture for installation of the wingtip strobe and nav light assembly.

This is the nav light cut-out primed prior to riveting on the fibreglass fairing. More on that when I build the right wing as I forget to take any pictures!
Finally, the wing is returned to the modified stand so I can commence work skinning the right wing.

I like this view as you can see both wings from the same inboard position and get an idea what's behind the skin!

In this view you can see the handhold with the trestle support sticking through. You can also see the trailing edge extension at the tip.
The wing has full-span flaperons - combined ailerons and flaps, and I'll be constructing and fitting these as soon as the right wing is completed. Still to be installed is the nav light fairing. It's all prepared but will be wet-assembled with PR1422 (fuel-tank sealant) and I only want to mix one batch, so will do this job on both wings at the same time.
That's it for the moment. I'm now prepping the main skins for the right wing (all minor parts were done earlier with the left wing parts). Hopefully I'll have the right wing completed as I reach the one-year mark in a few weeks.
No comments:
Post a Comment