So a brief review. First the final assembly and control rigging.


Here I've installed the anti-servo tab control arm and pitch trim actuator.

This is a view of the trim actuator try and push-rod. There is no manual trim so if the electrics or trim motor fail, the trim will be locked in the last position.

A view inside the aft fuselage of the tensiometer on one of the stabilator cables. Both cables have to be tensioned to 35-45 lbs and at the set time, adjust the upper and lower cables to get the correct range of movements. A bit fiddly and time-consuming.

So next was installation of the propellor. I had previously installed it at home to get the spinner aligned and the pitot tube fitted, but hadn't tried setting the blade pitch angles.

A view of the inclinometer showing the propellor blade pitch using the Vans'supplied alignment tool. It took a while to get both blades to the same angle (71.4 degrees specified by Vans). Before ground running, Jerry checked the blade-tip run-out for me and it was fine.
Next came the wings. I had some work to complete with the AoA sensor installation on the left wing as well as fittng the registration letters. I also had to remove the blue plastic and clean off all the sharp points from the pop rivets.

Left wing on trestles all cleaned and ready for the registration, with the right wing on the transport stand with just the blue plastic to remove from the flaperon.

Final registration letters fitted on the underside of the left wing. These are temporary stickers just for the test flying phase and the proper versions will be sprayed as part of the aircraft painting in the new year.

Any finally a complete aircraft with all controls installed and correctly rigged. In fact I had to take the wings off again to trim the flaperon skins where they were rubbing on some fuselage rivets, and to correct a problem with the stall warning connection. I had crossed 2 pins at the wing-root connection so had a permanent stall warning alert on the PFD.
With aircraft all assembled, the next job was to leak check the fuel tank and pipework and then carry out a fuel-flow check to ensure the electric pump delivers the required volume. There we no leaks so I put on 10L of unleaded car fuel and performed the flow checks. Three tests of 15 seconds each and one of 60 seconds confirmed an average flow of 104 litres/minute, which is fine.

This is the fuel flow set-up with a temporary pipe connected to the output port of the mechanical pump and running into a calibrated 3L jug.
With fuel checks done, I drained (pumped out) the unleaded car fuel and had the first 30 L load of Avgas from he airfield bowser ready for round runs.
Jerry came to do the post-assembly inspection and ground runs, so after a bit of additional wire-locking and priming the oil system, we went outdoors for the first time to give the engine a try.


After a first test with the ignition off the ensure the engine rotated, it fired at the first attempt. A little more choke and it was away!

A screenshot of the PFD showing all of the engine parameters correctly indicating.
We then performed the carburettor balance using Jerry's test kit and my first chance to get in and run the engine whilst Jerry made the adjustments. On completion, the engine runs extremely smoothly and has a ground max RPM of 5040 and an idle of 1500, so all good for flying. The final bit for the session was to see how well it taxi's and test the brakes. We had a small try in front of the hangar and then went for a loop around the taxiway, down the runway at 35 kts and back to the hanger.
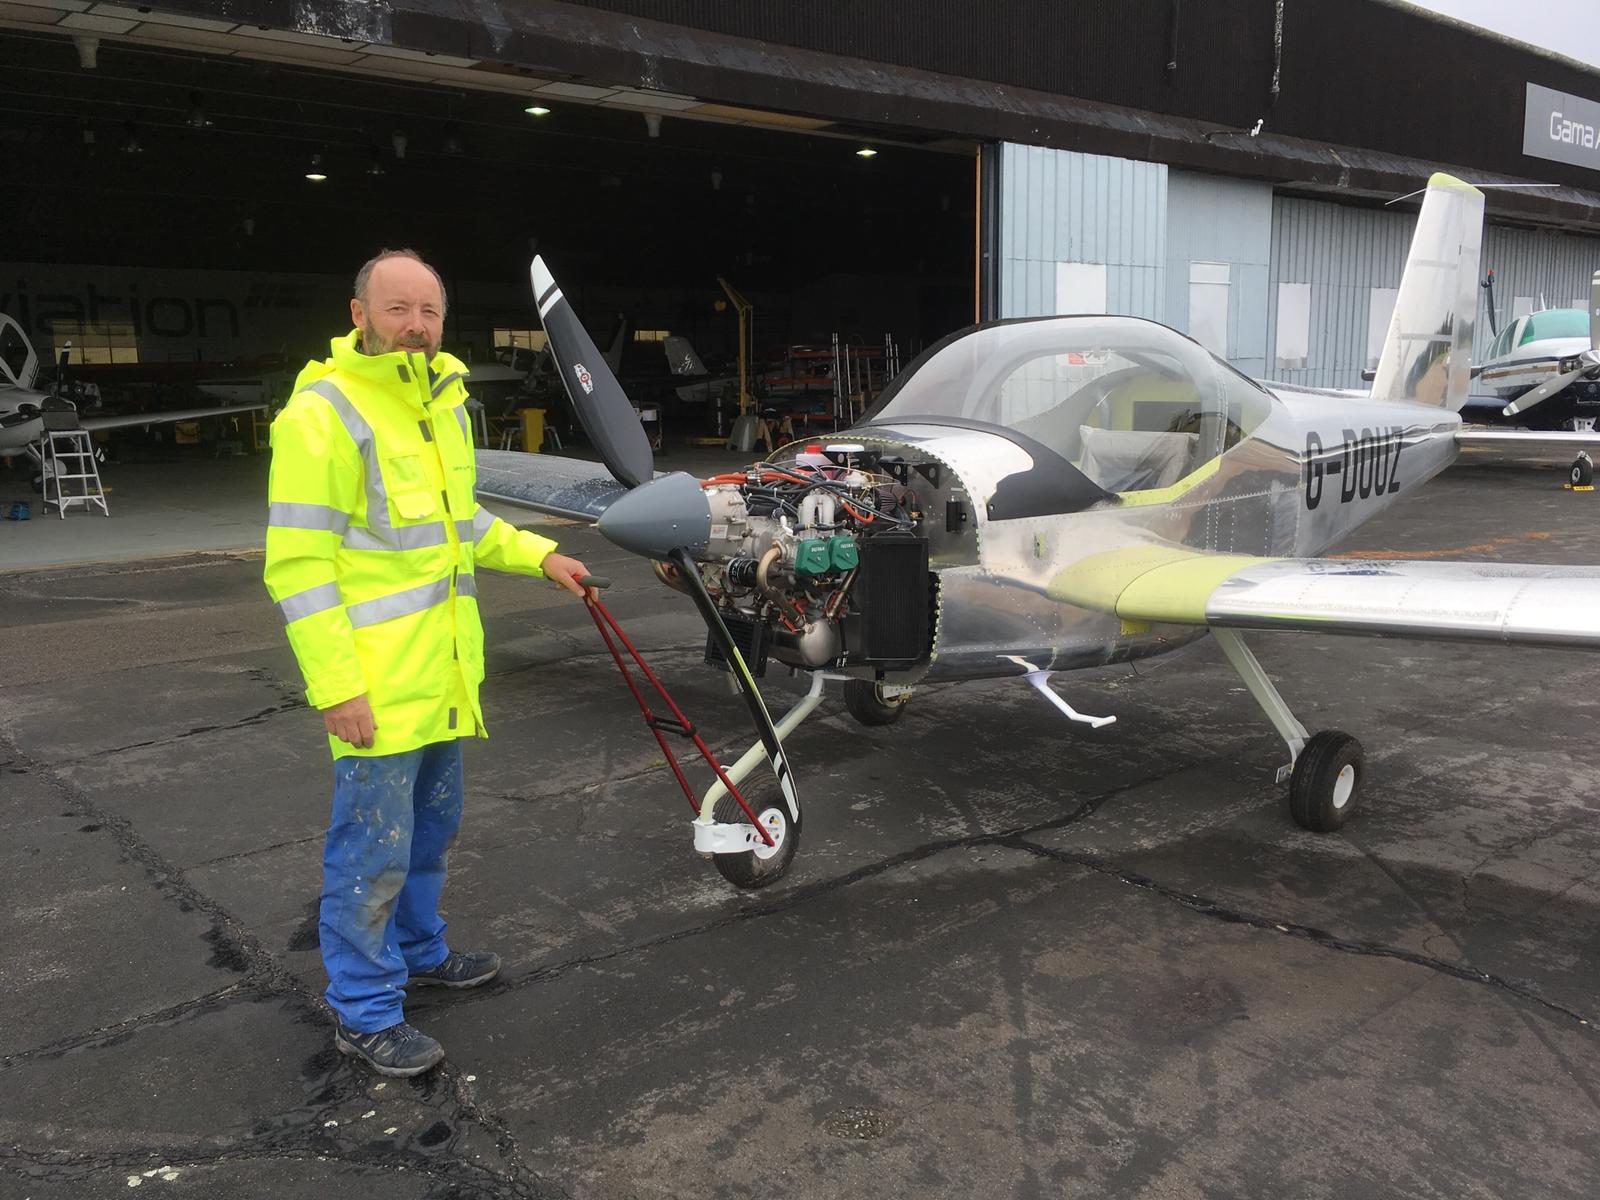
Yours truly putting the aircraft away. It was a rainy day but worth getting wet! All in all and excellent day and lots of thanks due to Jerry for his guidance and support.
This is a really good read for me, Must admit that you are one of the best bloggers I ever saw.Thanks for posting this informative article.
ReplyDeleteConstruction company in Islamabad
This is a really good read for me, Must admit that you are one of the best bloggers I ever saw.Thanks for posting this informative article.
ReplyDeleteConstruction Company in Clapham
Powerful Herbal treatment is 100% guarantee for HSV cure, the reason why most people are finding it difficult to cure HSV 1 or 2 is because they believe on medical report, drugs and medical treatments which is not helpful to cure HSV and hasn't proved any sign of helping. Natural roots/herbs are the best remedy which can easily eradicate herpes forever. I never believed it until I was helped and cured of my 16 months genital herpes with natural herbal medicines from Dr OGU Patrick. Where other medical prescribed drugs and treatments failed, Natural herbs helped saved me from Genital herpes permanently and i am so grateful for this. You can also get help from this great and powerful herbs can also contact Dr OGU Patrick through via this email: drogugusolutionhome@gmail.com , Text or call him via : +1 719 629 0982
ReplyDelete